The Project
Designed to carry — built from scratch
Most consumer drones aren't designed with payload delivery in mind — their frames are optimized for low weight at the cost of structural margin, and swapping in a payload bay isn't straightforward. This project started from a blank CAD canvas: design and build a fully 3D-printed quadcopter, from airframe geometry to flight controller configuration, capable of carrying up to 1lb of payload. Every component was either designed, sourced, assembled, or soldered by hand.
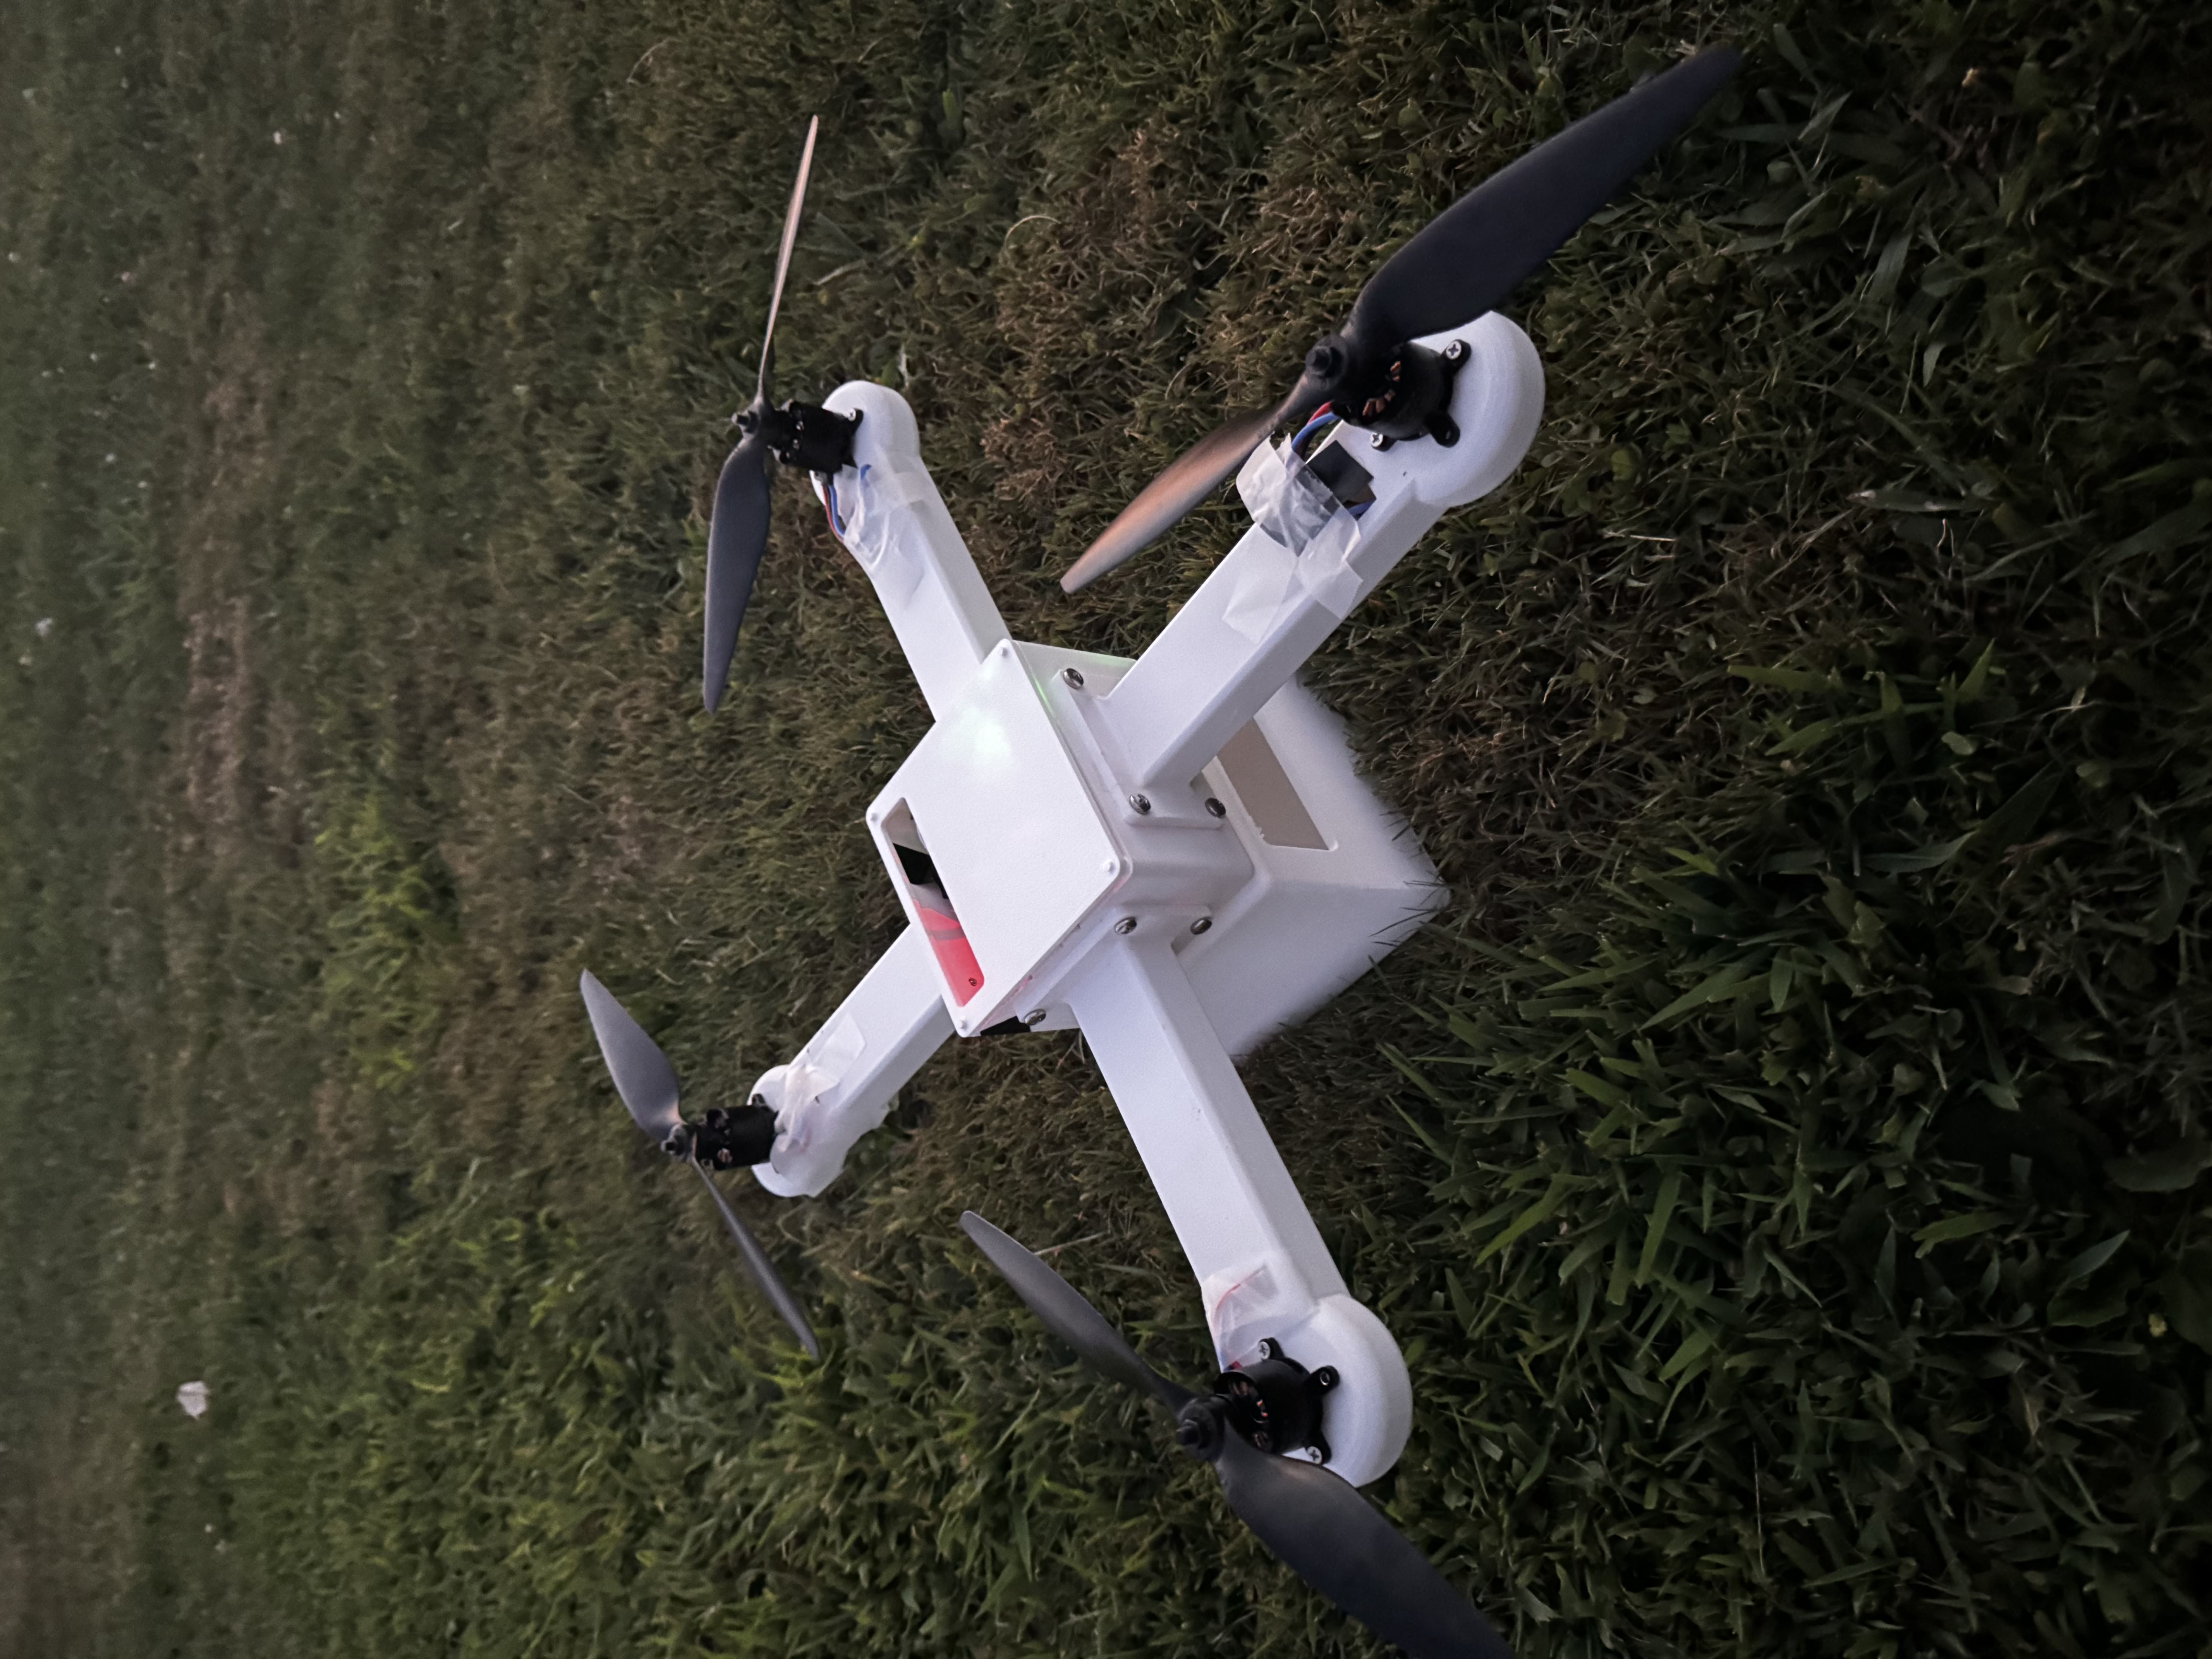
Finished quadcopter — fully 3D-printed frame, arms, cover, and payload bay
Tools & Skills
Mechanical
- Custom 3D-printed frame, arms, cover, payload bay
- DFM / DFA design principles
- Static FEA (arm + frame validation)
- Hand drill, screws, airframe assembly
- Propeller selection and fit
Electrical
- TAKER G4 AIO flight controller
- SunnySky brushless DC motors
- ExpressLRS EP1 receiver + RC transmitter
- LiPo battery
- Hand PCB soldering
- Continuity & isolation testing
Software
- BetaFlight Configurator
- Flight controller setup & tuning
- Bench testing protocol
Process
After research into existing payload drone designs, we designed the frame, arms, cover, and payload bay from scratch in CAD. The goal from the start was to make every printed part efficient to produce and assemble — applying DFM/DFA principles to minimize support structures, reduce print time, and keep hardware requirements simple (primarily screws).
- Designed the frame for clean screw-together assembly with no bonding required
- Arms were designed as separate printed parts to allow replacement if damaged
- Payload bay integrated directly into the frame geometry rather than bolted on as an afterthought
- Ran static FEA on the arms and frame based on expected flight loads to validate structural integrity and determine factor of safety before committing to final prints
The TAKER G4 AIO board serves as the flight controller and ESC in one — it handles motor control, sensor fusion, and receiver communication on a single compact board. This kept the wiring manageable inside the frame. The rest of the electrical system: SunnySky brushless motors on each arm, an ExpressLRS EP1 receiver for RC link, and a LiPo battery.
- Laid out the full circuit before touching a soldering iron — mapped every connection and confirmed pin assignments for the AIO board
- Performed precise PCB soldering by hand, working through motor pads, power leads, and receiver connections methodically
- After soldering, ran continuity and isolation testing on every connection before powering anything on — catching any bridged pads or incomplete joints cold
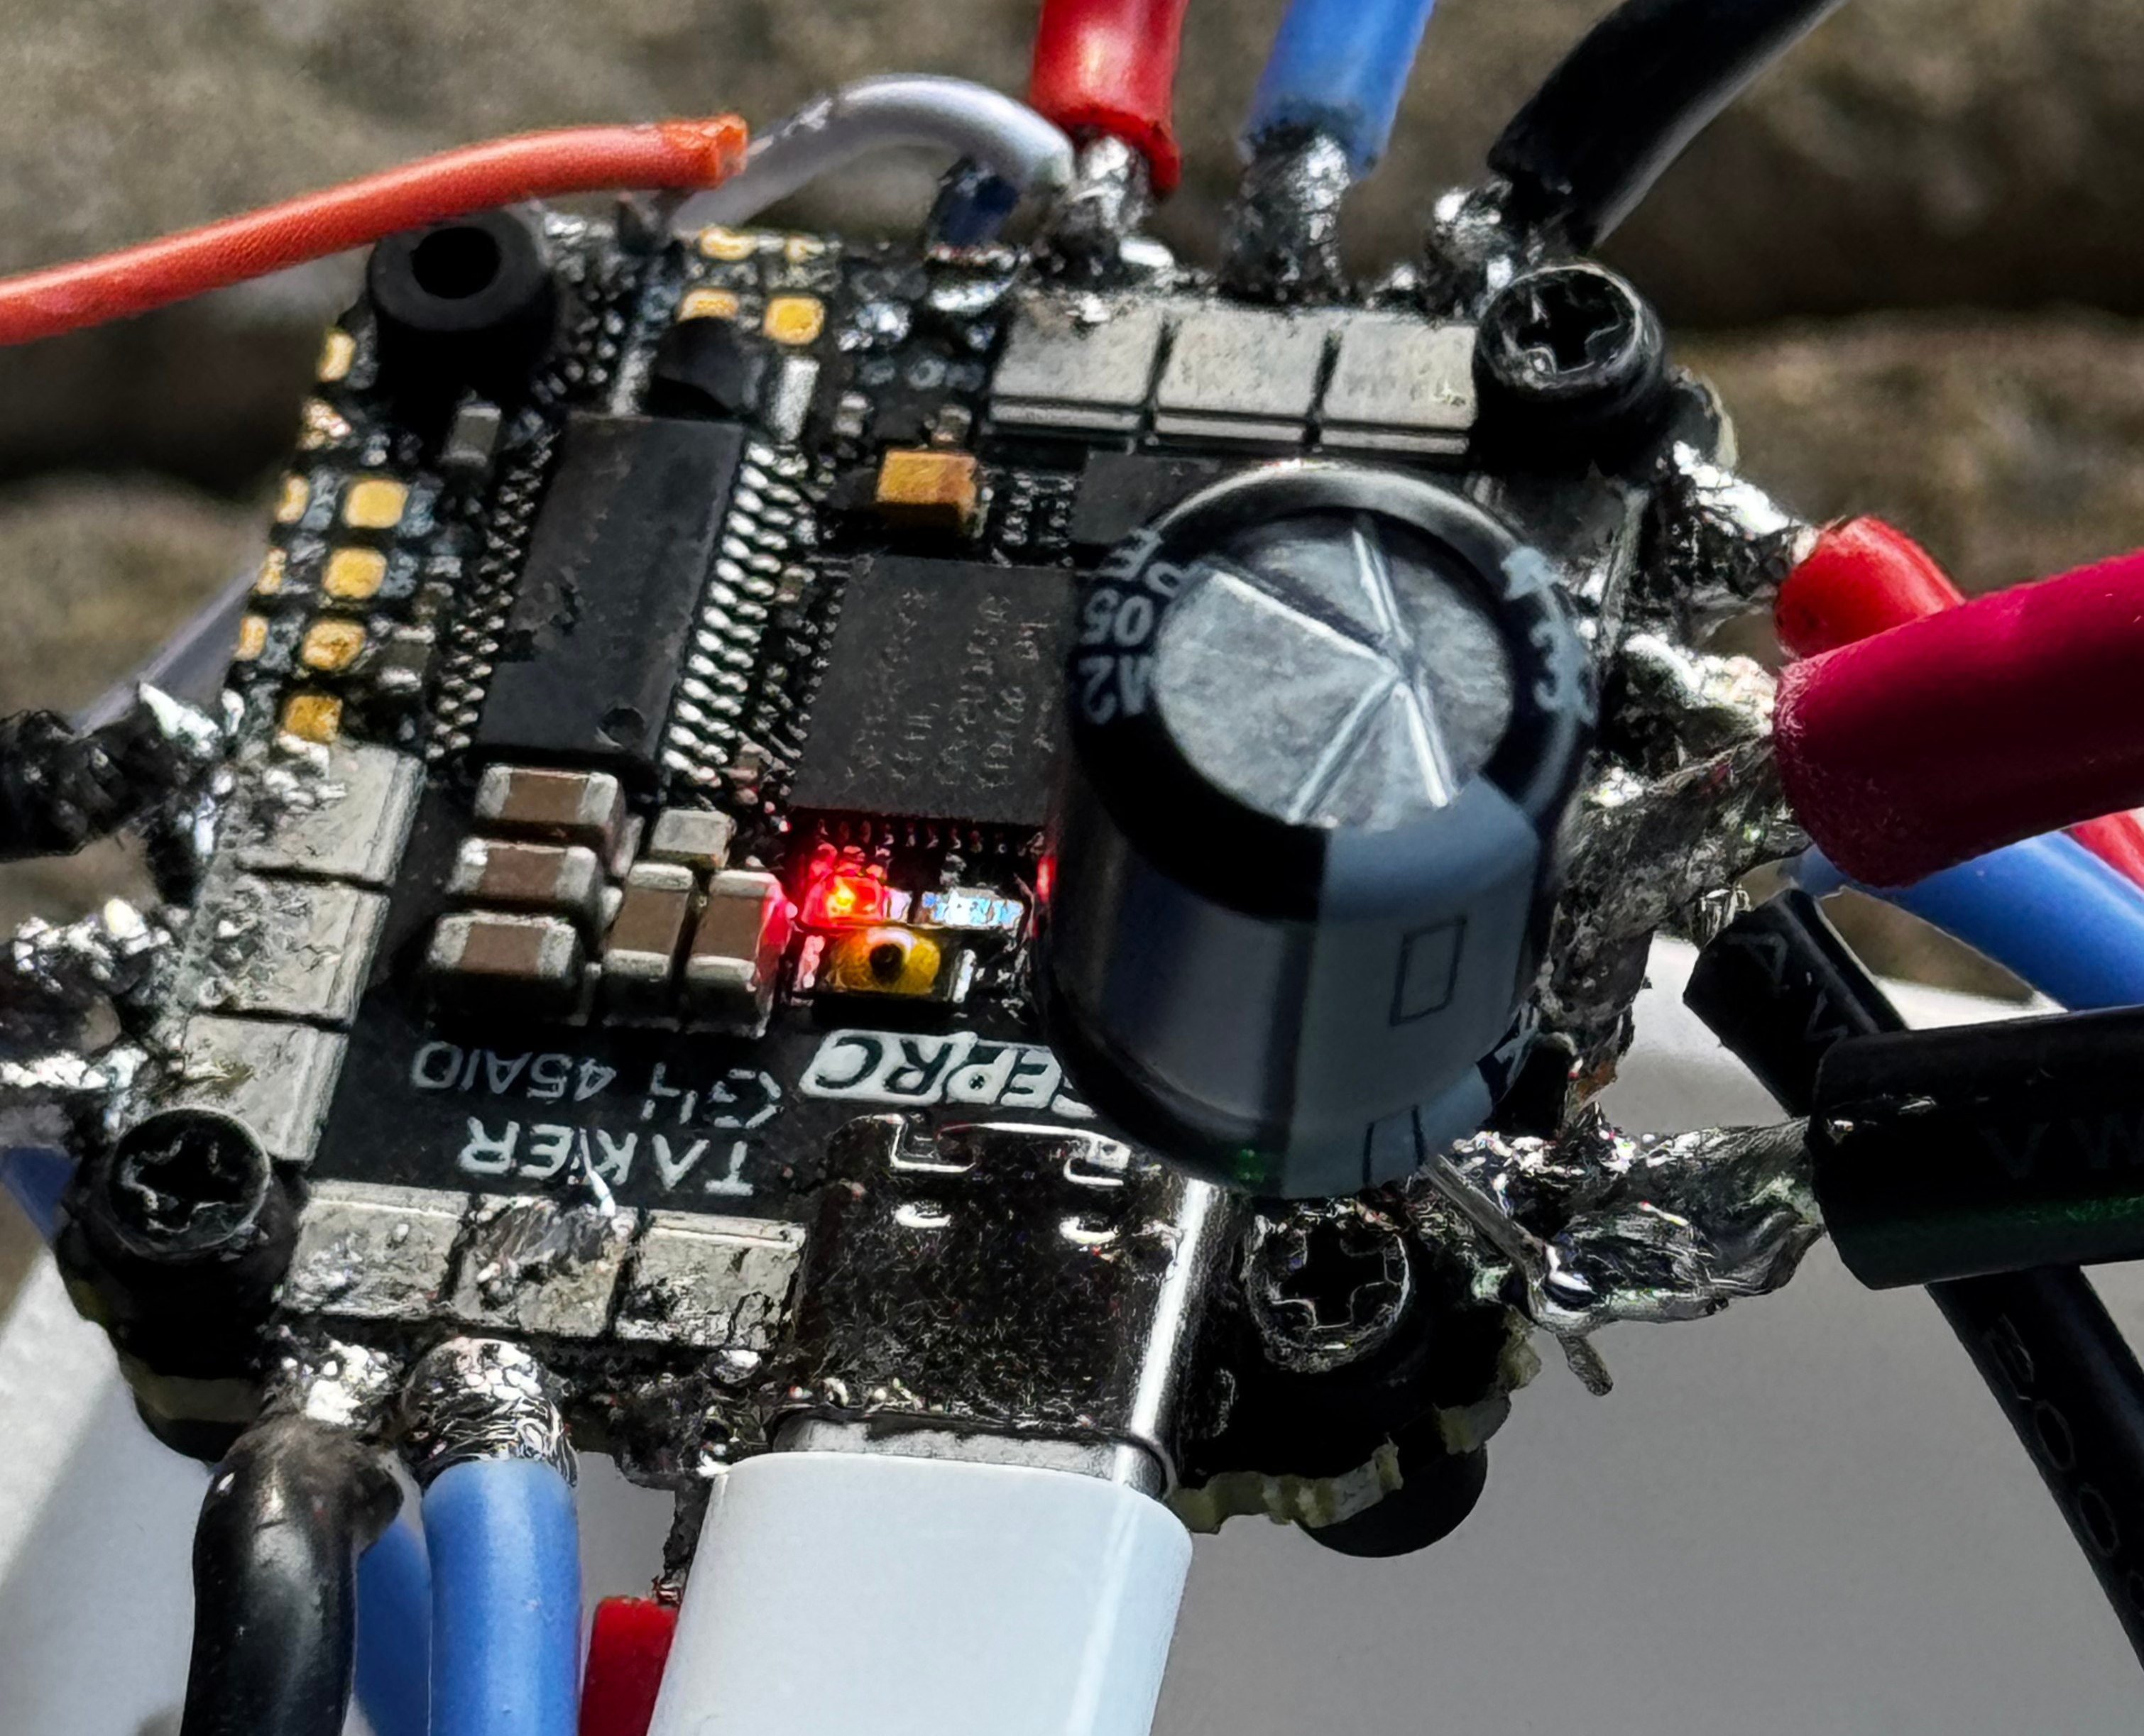
TAKER G4 AIO — hand-soldered motor leads, power connections, and ExpressLRS EP1 receiver wiring
With the airframe assembled and electronics validated, we used BetaFlight Configurator to set up the flight controller — configuring motor direction, receiver protocol, and arming behavior. Before any flight attempt, we ran rigorous bench testing: motors spinning up correctly, receiver input registering as expected, failsafe behavior confirmed.
- Configured BetaFlight for the TAKER G4 board: motor mapping, ESC protocol, RC link setup
- Confirmed control surface response through stick input testing on the bench
- Verified failsafe behavior and arming/disarming sequence before moving to outdoor flight
Result
Flight achieved — with room to grow
The drone flew. That said, further simulation testing and software debugging would be needed to improve reliability for repeated or sustained flight. We hit the core engineering goal — a fully 3D-printed, hand-built quadcopter that leaves the ground — and identified clearly where the next iteration should focus.